-
Inspiration
I find inspiration in my life. On a walk with the kids we can see a cloud that makes me think of a curve or shape. I have a serious love of all things round, so dots and curves bring me joy.
Also, graphic design is a large part of my art. Admiring artists like Saul Bass for his lettering with some Kandinsky colors with a Frida vibe of beautiful mixed with a little creepy sprinkled on top. Graphic design helps to add some restraint and balance in a lot of details while still remaining pleasing to the eye.
II love taking my little state with a big heart, North Dakota, and filling that basic rectangle with as much color, design, and quilling as possible. My love of lettering, kerning, color, and texture fills my work with vibrant energy and balance.
(and a little smartassy-ness)

-
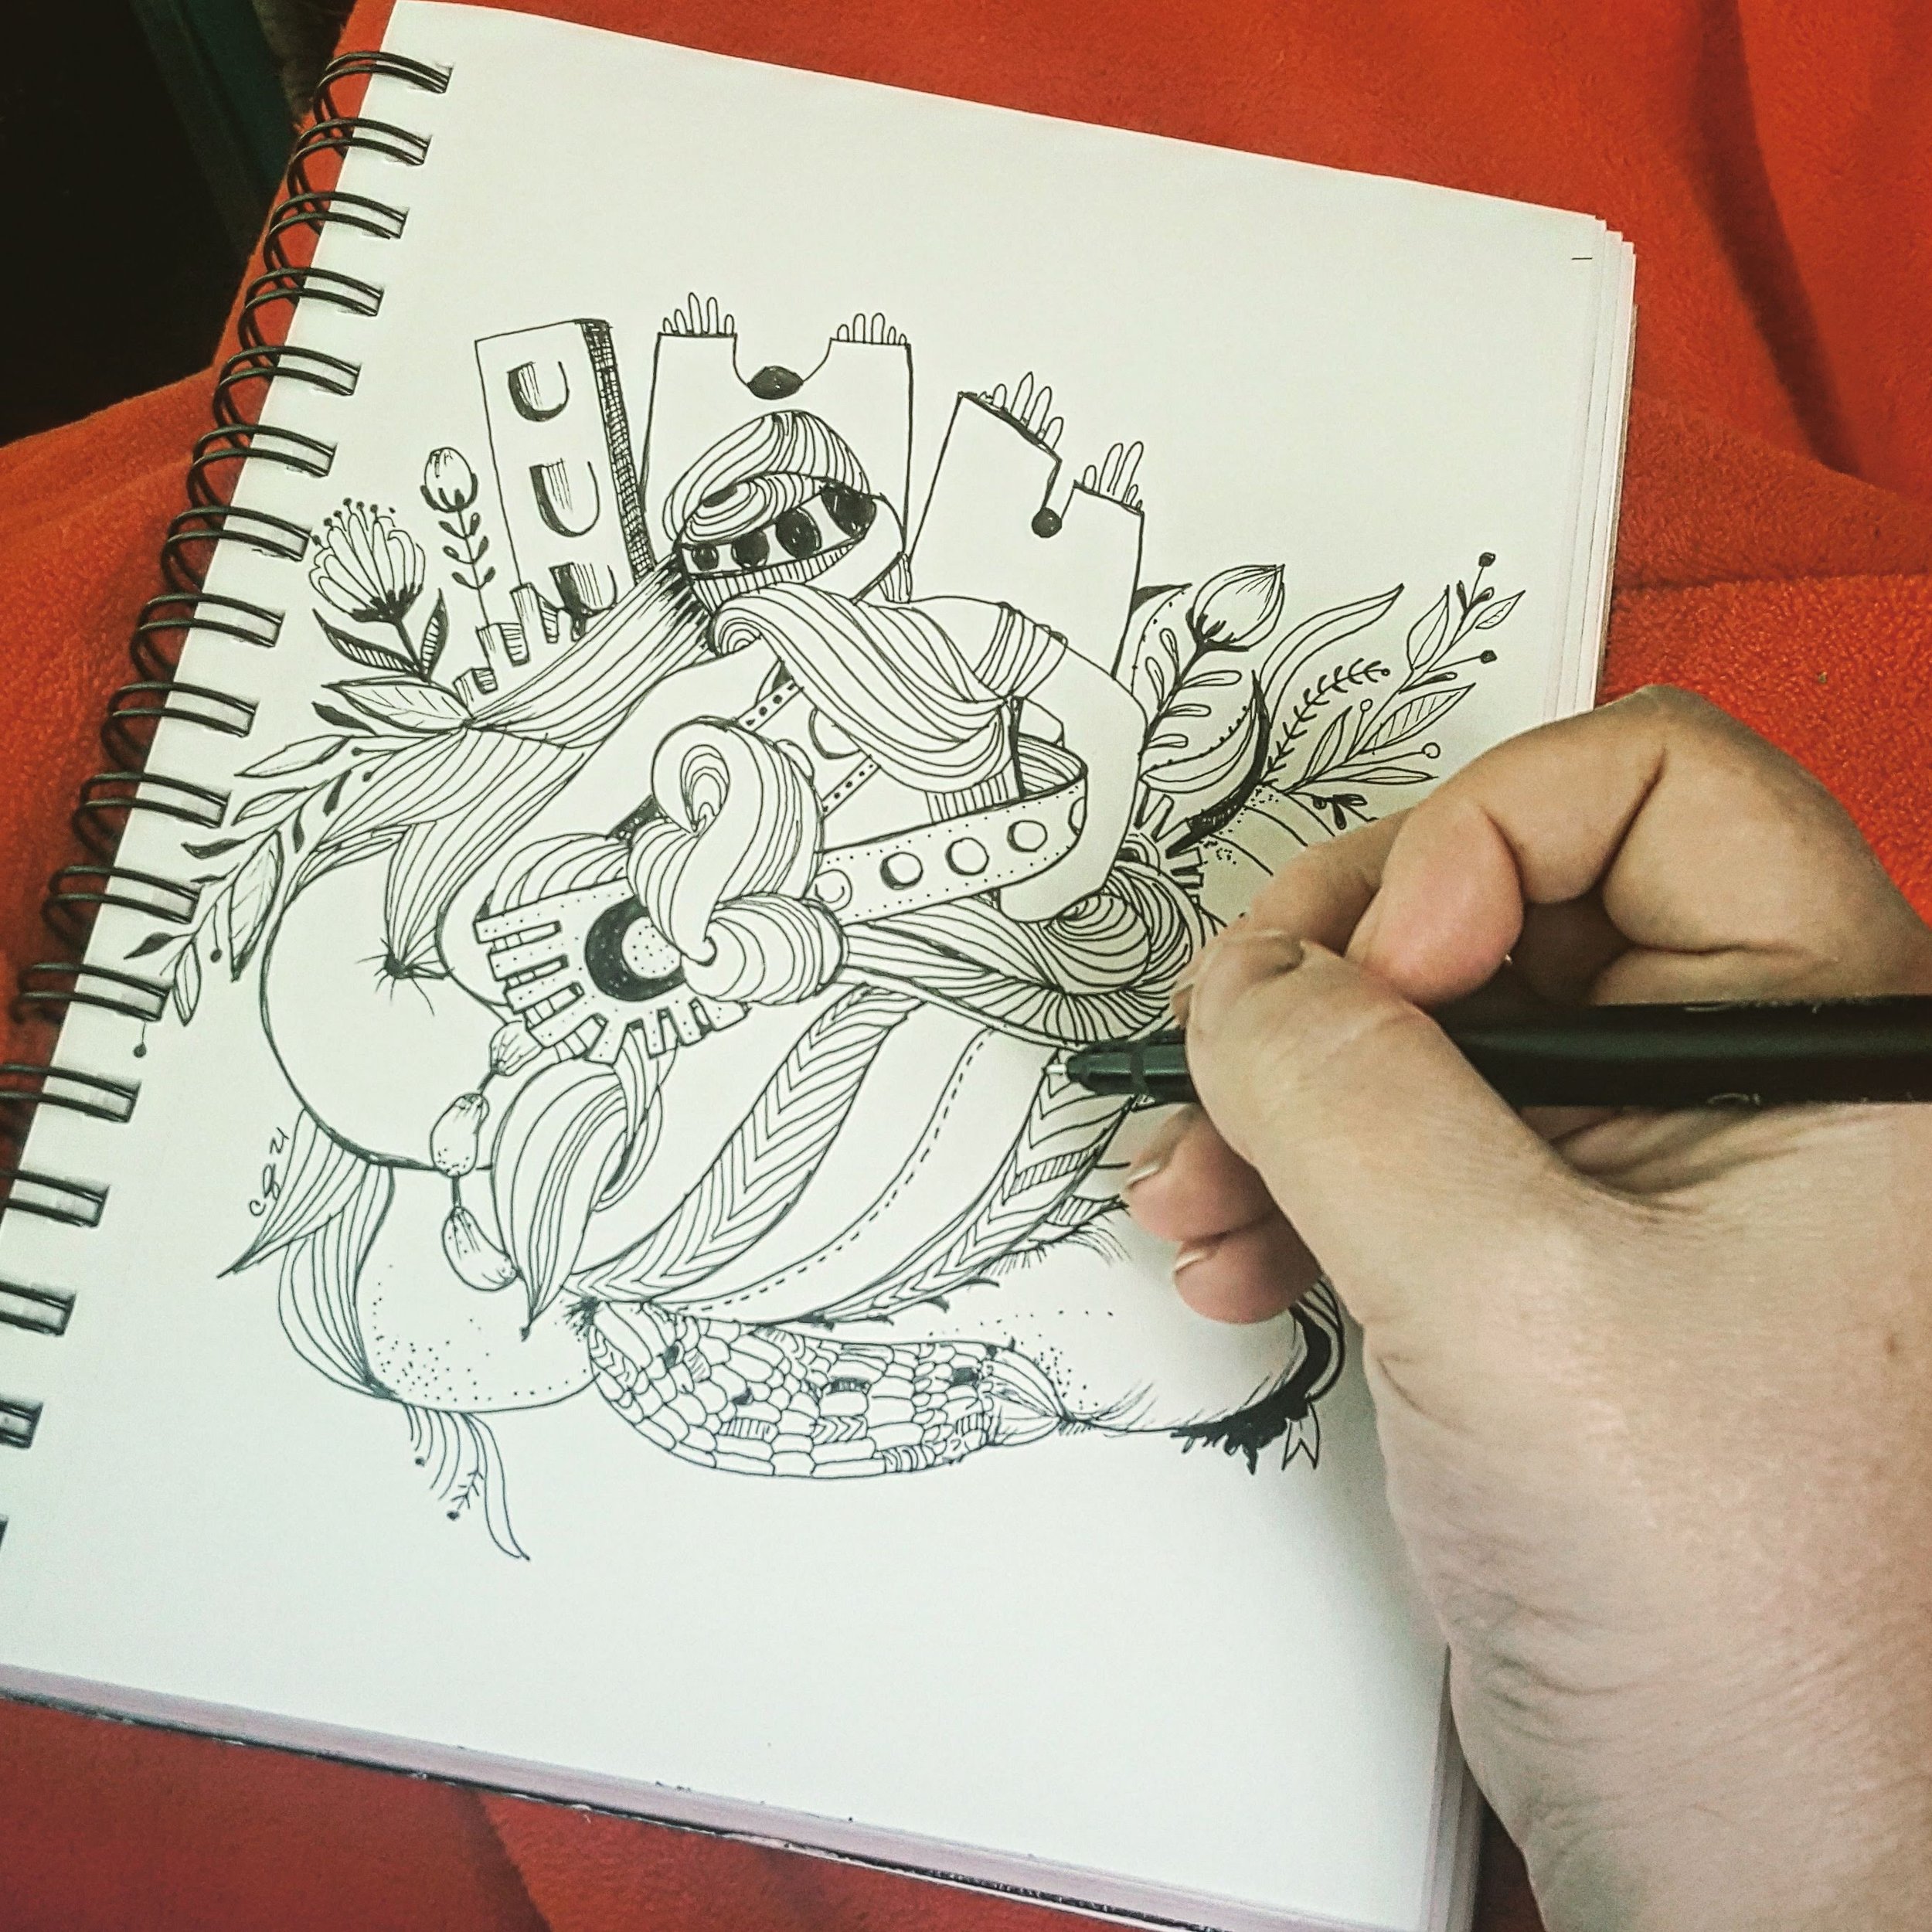
Process
The process is long but so satisfying! —Which makes it sound totally dirty, but if you’ve taken a class with me, you know the jokes are there (IYKYK).
First, I start with the idea, which means I need to prep a surface and perhaps paint a background. 98% of my quilled pieces are not planned but intuitive. Every surface I quill on is sealed first, which protects what I put on top and makes the pieces more durable since I don’t often use glass. (Think Stingray touch —not prom date touch, wink wink).
I cut all my own strips of paper, because you know your girl loves a process. Also, I use a heavier-weight paper than traditional quilling. The delicate traditional paper is no match for my tree paws. I learned early on cutting my own was the way to go. (sidenote: paper cutting makes a great asmr video… follow me on Instagram).
Finally, it’s on to quilling! The process of rolling, shaping, pinning, and gluing takes over. Then, poof! 12 hours later a piece is made!